I worked on this project for several weeks without posting on facebook anything about it, or writing about it on my blog, because it was a surprise for my son and daughter in law who live out of town, and I wanted to get it finished, send them a picture and then give them a chance to refuse it in case it wasn't something they liked. I had a picture of my son's living room, so I knew the walls were pale green. He had a white piece of furniture in the hallway, and wood bookcases, and a black/glass side table so I wanted to make it fit in; however, now that they have "accepted" it; its going into the bedroom, so I have no idea if it good for the décor, or functionally better in the bedroom.
I started out with a hexagonal lamp table, covered in brown laminate to look like wood, with heavy doors. I got it at the Ladies Center like the zebra cart. The day I got it was a marvelous shopping day I got this table, two mid century side tables, and my round book table that's posted about, all for $35.00. I've had it in the extra garage for almost 2 years waiting for someone to need a cat bed/house. I've seen them on pinterest and really wanted to make one. My son just got a new kitten, so it seemed like the perfect time.

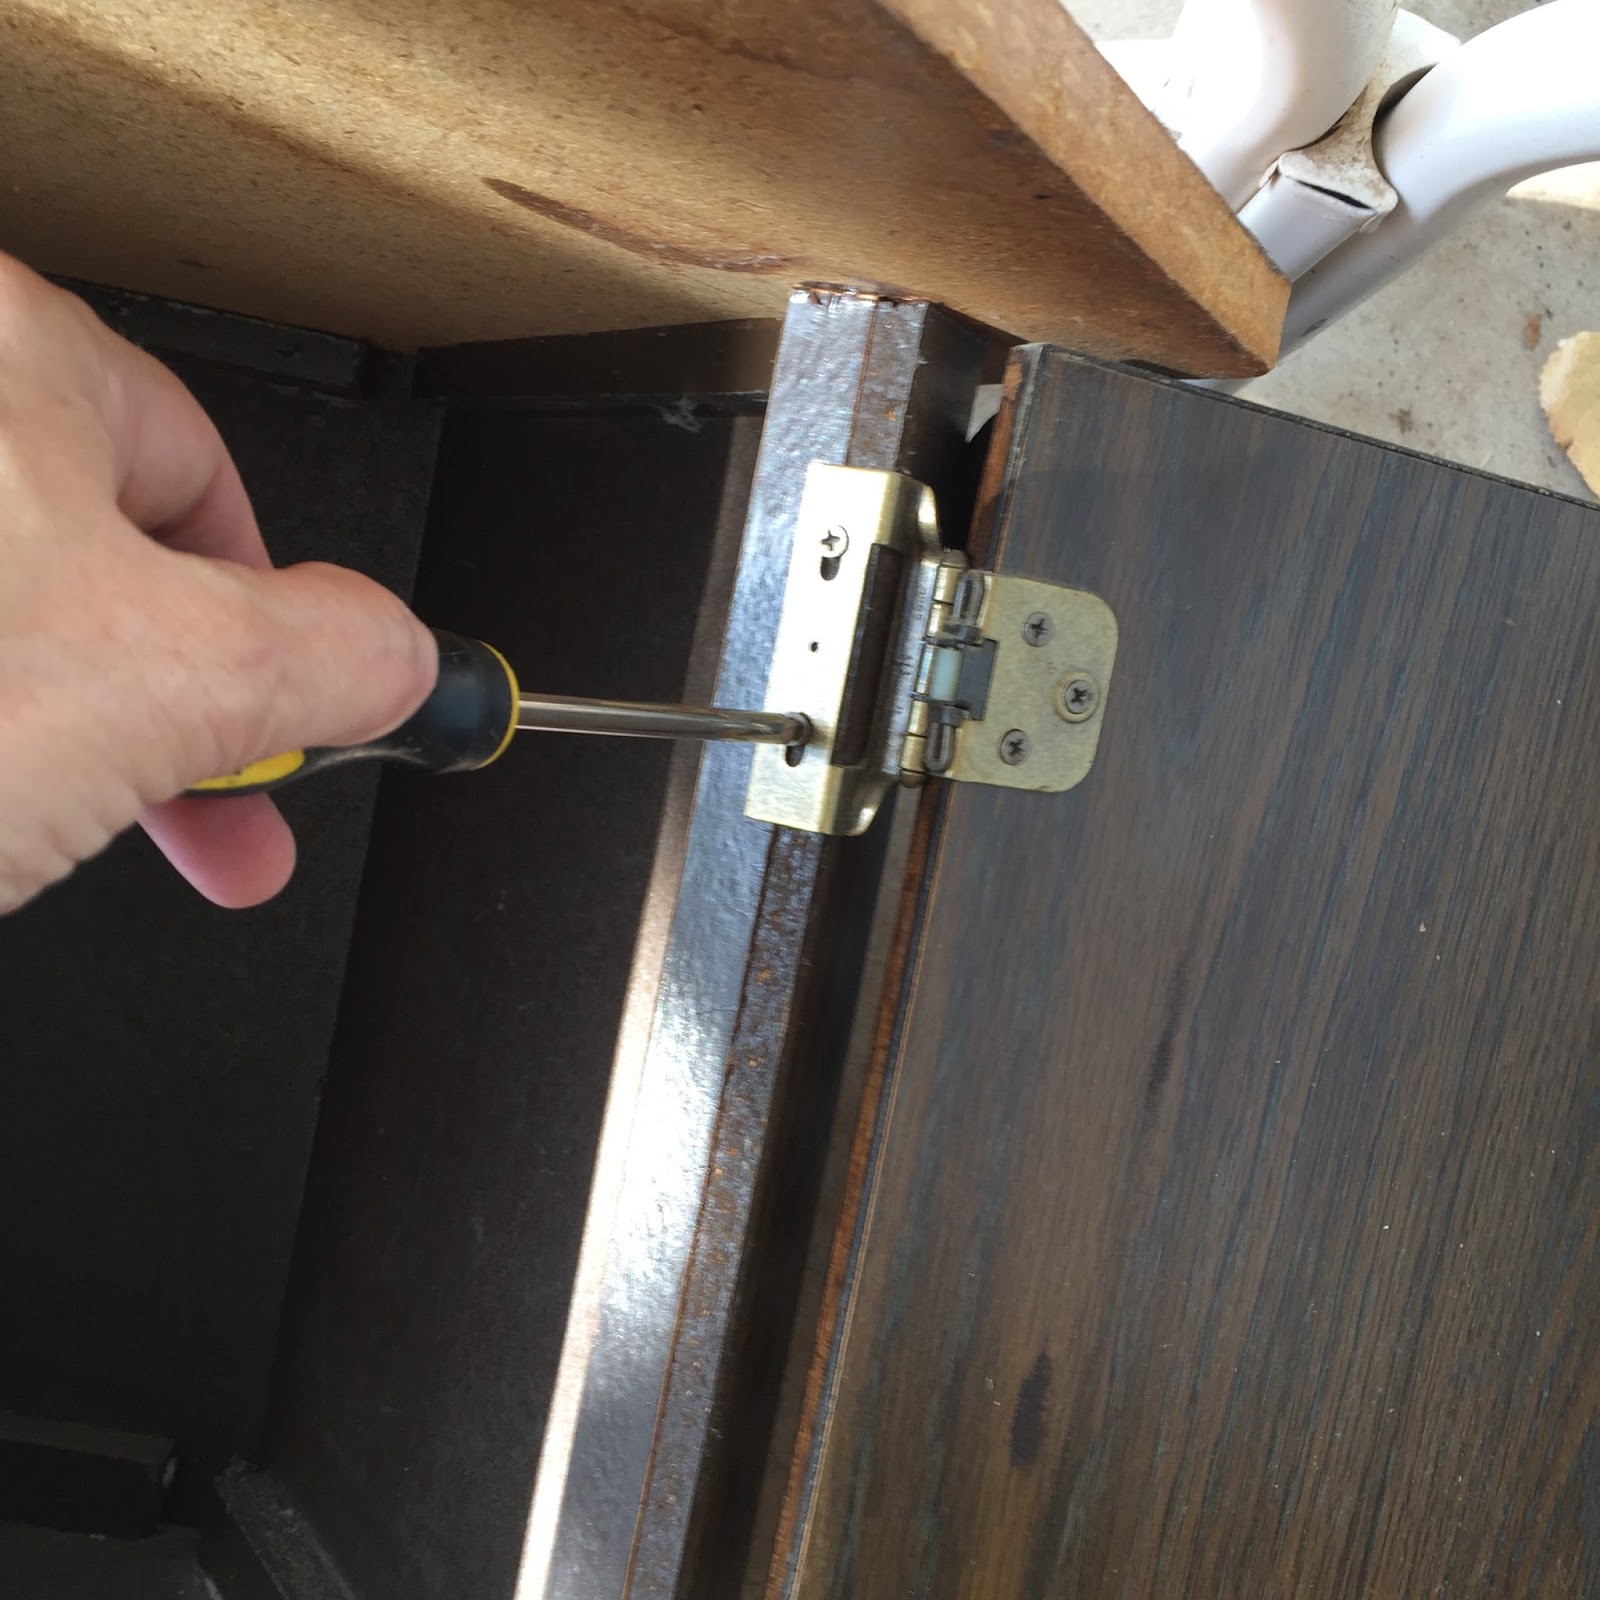
The first thing I did was remove the doors.

 |
| Now what do you think I could do with this? The doors. |
Then I removed the laminate. I just pulled it off the top. But when I got to the sides, I needed a little heat, literally. So I held a hair dryer blowing on the laminate as I used my other hand to pull it off. Had it all off in less than 30 minutes. Piece of cake!! Much easier than removing wallpaper.
 |
| Just pulled this off. |
 |
| Had to use a hair dryer. |


 |
| Laminate all gone. Pressed wood all over! That stuff can't get wet or it crumbles. |
Then I got a can of 99 cent spray paint (bad idea, you get what you pay for) and sprayed the sides with a coat, but the pressed wood just soaked it in and you could barely tell it had anything on it, and I realized at that rate, we would use tons of cans of paint.

Next I got my great Rustoleum paint and did two coats. I Wasn't real satisfied with that though as the gloss was kind of hit and miss and the top of the table just looked weird. I tried painting it with my interior semi gloss, but it left brush strokes. So I decided to use my Walmart exterior white semi gloss, and I applied it with a small roller, so there would be no brush marks. But before I did that, I noticed as I moved the table from the kitchen to the garage and back, every where I went there was weird dust, looked like mouse droppings. Upon further checking, the bottom of the table was crumbling into tiny flakes. Can't have that happen. So I remembered buying some white duct tape at Home Depot. I put the table on a rug in my living room upside down and I covered the bottom of the table where it sits on floor and the ridge that you can see with the white tape, and I really think its great for protection and I don't think you can tell its taped unless you look really close. Now I move it around and no dust particles, plus no damage to wood floors.
 |
| After spray painting and using interior semi gloss. I've got table upside down, and the part at the top is where I later added the duct tape. |


After applying numerous coats of paint, went to Joannes and shopped for material. You will be amazed at how many kinds of "cat themed" materials there are. I finally found the perfect one. Keep in mind my son and his wife are both school teachers, so I found a pale green (remember living room wall color) with cats, and pencils and words like math, science, etc. I thought that was perfect; at this point they could still refuse the table, but I figured I'd find a teacher somewhere who wanted a table for her cat. I bought 2 yards of this material and when finished, still have a good piece left. I could put in curtains. I measured the inside walls (5) and they were 11 inches wide each and 16 inches tall. So I cut the material 55plus 2 (for overlap if needed) x 16.5. I had already painted inside the cat house in case no one wanted it covered or if cat ruins it. Then I got table on counter so I could get into the table easier. I started stapling it, stretching, staple, stretch, at the top all the way around the inside of the table. It was so easy!! It fit so well, and where it was too long because of what I had added, I turned it under for a nice edge. After I had the top all stapled then I pulled it down taut and started stapling the bottom, making little waves so it looks like drapes rather than smooth and straight. Then I cut a piece of the cloth for the bottom and turned it under at the doorway and stapled it down all the way around. After that I took a pillow form I had bought at Joannes and covered it with the same material. I just hand stitched it together. It fit in there perfectly. So this kitty King Simba will have a nice soft bed. I also bought a ceramic rectangle and painted it and press on letters at Michaels to make a name for the bed. I was going to put it under the edge of the opening, but if I did, kitty might not get in without hitting it. So I'm just going to give them the name plate and they can do with it what they want.
 |
| Cute kitty material, "teacher or school themed". Its sort of a flannel. |
 |
| The too large name plate |
 |
| The final cat house before trim on edges. |
After I finished with the interior, my son, Jeff came over to cut my wood trim I had bought at Home Depot to cover the edge of the table top as it was rough and unprofessional looking, and around the opening of the interior. I didn't cut it myself because my miter box doesn't have a 30 degree cut. (360 degrees divided by 6 is 60, half a 60 is 30 so that's the cut you need for your miter cut.) Jeff had my electric miter saw that you can set for any angle, as he just finished laying laminate in a almost 4000 sq ft home. So he came over and in about 15 minutes had all the cuts made, and nailed the trim on with my nail gun; he even caulked the trim so it is seamless. Then I painted it with two coats of white exterior paint, (I had already brushed on 2 coats also before he cut the 2 8' pieces) and while I did that, I put two more coats on the whole table. I imagine by that time I had 7 coats of various paints on it; but if it gets hit, it is now less likely to chip.
The final step was covering it with Rustoleum clear gloss for further shine and protection. I really loaded it on the top. And who knows, before Sunday when they come to get it, I might add another layer on the top. I don't think you can ever get too much on a surface that might someday have cups setting on it. And the good news: They loved it and want it.
 |
| Final, see that trim. Doesn't that add a professional touch? |
 |
| Can you see gloss, shine? Do you think King Simba will enjoy this bed? |
But further good news, I found 2 more tables just like it at the Restore, and I may go back and buy them, and do two more tables as I have almost a full gallon of exterior paint left, and coupons galore from Joannes for material, and I just might be able to sell these tables for a little spending $$$.


