I was at the Women's Center, a set of stores for raising money to support women who are abused, one day and found a rolling book shelf which looked cool. I bought it, brought it home and painted it as a zebra print wine cart. I'm using it today at my newest flip house in the corner of the living room. But I enjoyed that so much, I went back to the Women's Center one day with my pick up and shopped their furniture area. Everything is donated, so everything is used--usually dated too.
This particular day I had a ton of luck. I found two end tables exactly like what my mom had in the living room while I was growing up. One of these I painted as a little Diva table. I'll post that project later. I gave Tera the other one as she wants to make it a "block" table for her kids by putting a basket under the top shelf to hold the blocks and lower level be a building station. I found an octagonal end table with lots of design. I plan on making a cat house out of that, but for the time being it is living in my garage. And the last item I bought was a piece I fell madly, hopelessly in love with. Why? I LOVE and COLLECT books. I cannot stand the thought of a book being on the floor, going in a trash, etc. This table is round, has dividers that divide the second level into four divisions, and I could just see it as a book table. It sits up on scroll legs and I just knew FOLK ART paint was calling me, the kind with black and white checks and lots of colors. After I flipped my first house in San Antonio (before that I worked mostly in Amarillo), I came home and attacked my staircase, living room and entry hall, while also working alternately on the round book table. Here is what it originally looked like at the Women's Center

This is the table I made Diva and gave Tera one like it.

After it dried, I added over the next few days several coats of white semi gloss house paint. My goal was to leave no sign of the brown and to have so many coats of paint it couldn't possibly chip off. I was using Sherwin Williams interior semi gloss. I keep cans of that in my house as I have white trim throughout and I'm constantly touching up.
After I got all the white layers on that I wanted, then the creativity took over. I set the table in my den across from where I sit and let it sit for several days as I looked at it while working and watching t.v. and trying to envision what I wanted. I perused websites and blogs of other house furniture painters. Under "My Favorites" on my computer, I have saved The Decorative Paintbrush, a blog by two women who paint very colorful folk art designs on furniture for other people. I can just get my artistic juices flowing looking at their pictures. My studying similar legs, dividers, scrolls, etc., I can start getting a feel for what I want something to look like.
I decided to work my way up from the bottom. I decided that gold would be my shiny accent and that the legs would be black and white, alternating stripes, dots, etc. I got these pattern ideas from The Decorative Paintbrush. So I turned the table upside down on the kitchen counter and got out my acrylic art paints. I get them for like $.89 a bottle at Michaels Craft Store. I have a collection of brushes from micro tiny to tiny, to graduating upward in size. My daughter Tera and I use to own a ceramic paint studio and I still have some of the brushes from that store. I use a lot of blue masking painter's tape to keep lines straight and not bleed into areas I don't want painted. Remember, acrylic will wash off if you hate what you paint, or its easy to paint over it. As you will see from the pictures below, that I finished the legs and moved up to the dividers in the table.
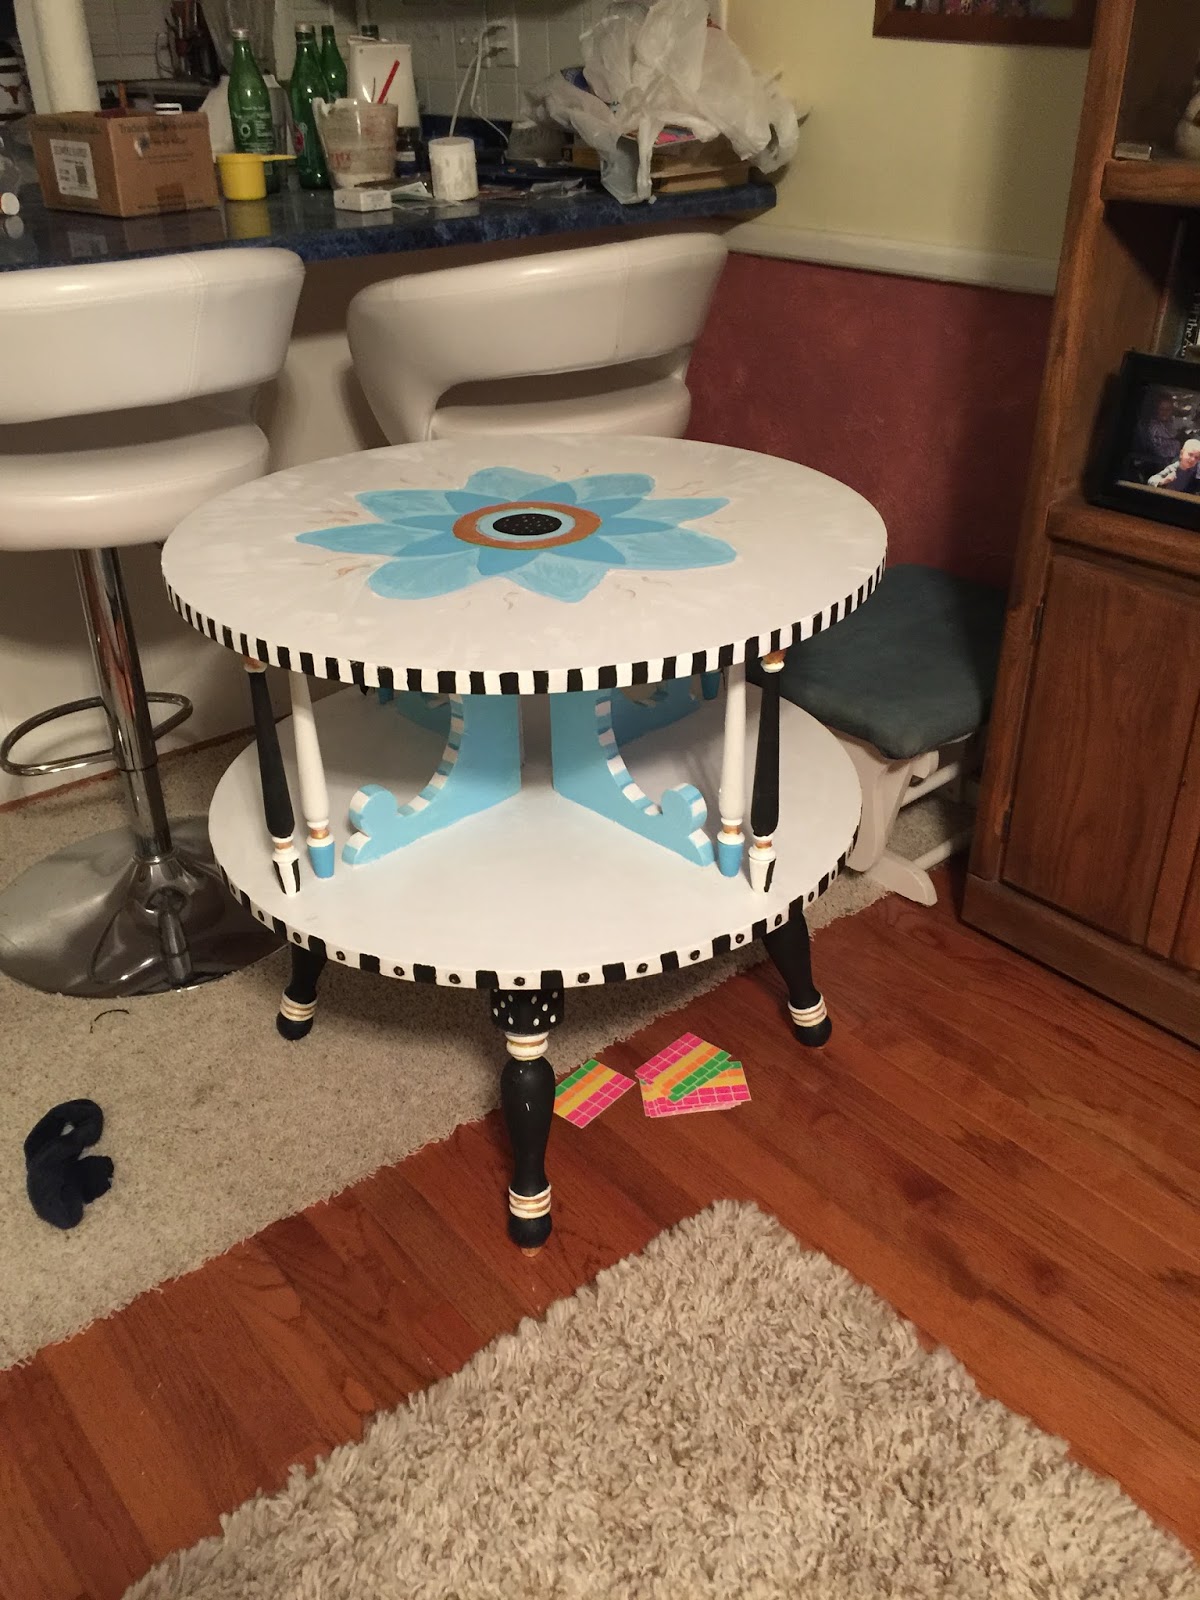
I'm a blue person; most cars and house design I own is blue, so it should come as no surprise that I decided to do baby blue dividers. The edges I did in stripe. I use little sticky notes from Office Depot to create the areas that will stay white. On polka dots, I put little tiny sticky dots on the legs and painted over that area with black acrylic and then pulled off the stick dots to reveal white dots. The gold between the scrolls of the legs was paint pens from Michaels. On the bottom of the table is a straight area that I did stripes in two shades of blue, that remind me of a circus tent. I just hand paint those by doing the whole area with the light blue and then taking a brush and painting downward stripes using another brush of the same size dry to mark where each stripe starts. This is no exact painting, but the mistakes makes it more whimsical.


After I finished the stripes I used dishes to make circles in the middle of the top of the table to form the interior of a large flower and then hand painted the flower and used acrylic mixed paints to make the petals.


 |
| This was final picture with urethane applied before set on wood floor in dining room. |
Well this ends our first project post. Hope you enjoyed it, and see you next time.
No comments:
Post a Comment
We welcome your feedback, but no vulgarity please.